As an Amazon Associate, I earn from qualifying purchases.
Hey there, ice cream lovers! Are you ready to embark on a delicious adventure? Today, we’re diving into the wonderful world of homemade ice cream. Trust me, once you’ve tasted the creamy goodness of your frozen creation, you’ll never look at store-bought the same way again!
Why Make Homemade Ice Cream?
Before we jump into the nitty-gritty, let’s talk about why homemade ice cream is so awesome:
- You control the ingredients: No weird additives or preservatives here!
- Endless flavor possibilities: Bacon ice cream? Why not!
- It’s fun: Seriously, who doesn’t love playing with food?
- Bragging rights: Impress your friends with your culinary skills!
Now that we’re all excited let’s get down to business!
Essential Equipment for Making Homemade Ice Cream
First things first – you’ll need some tools. Don’t worry; you don’t need to break the bank!
Ice Cream Makers: Your Ticket to Creamy Heaven
There are two main types of ice cream makers:
- Electric Ice Cream Makers: These babies do all the work for you. Just pour in your mixture, turn it on, and voila! Ice cream in 20-30 minutes.
- Manual Ice Cream Makers: A bit more work, but hey, you’ll get an arm workout! These usually involve a hand crank and some ice and salt.
No Ice Cream Maker? No Problem!
Don’t have an ice cream maker? No sweat! You can still make delicious ice cream using the no-churn method. We’ll get to that later, I promise!
Other Must-Have Tools:
- Large mixing bowls
- Whisk
- Rubber spatula
- Measuring cups and spoons
- Thermometer (for custard-based ice creams)
- Airtight containers for storage
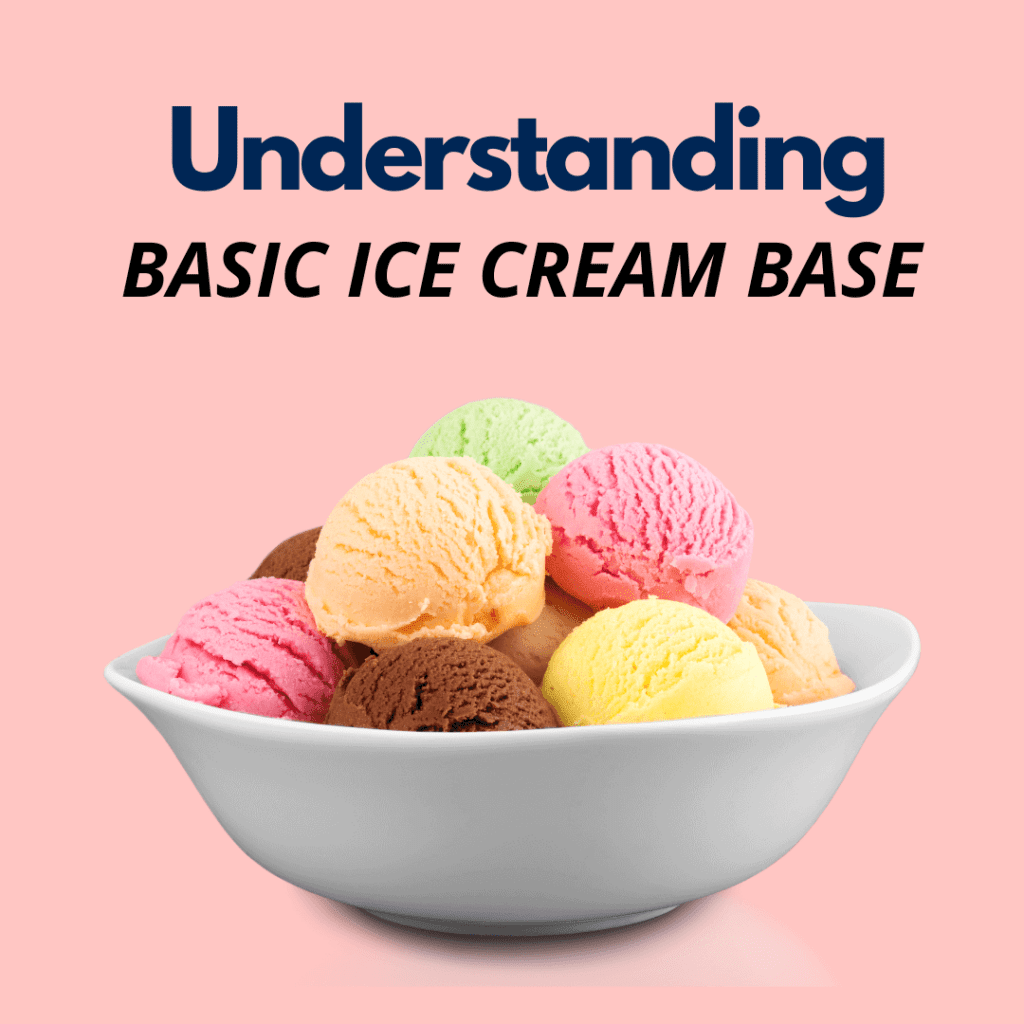
Understanding the Basic Ice Cream Base

Alright, let’s get scientific for a minute (don’t worry, I’ll keep it fun!). The secret to great ice cream lies in its base. There are two main types:
Custard-Based (French-Style) Ice Cream
This is the crème de la crème of ice creams. It’s rich, creamy, and oh-so-indulgent. The base includes:
- Heavy cream
- Milk
- Sugar
- Egg yolks (the secret weapon for creaminess!)
Philadelphia-Style Ice Cream
Easier to make and still delicious, this style skips the eggs. The base typically includes:
- Heavy cream
- Milk
- Sugar
The Role of Fat, Sugar, and Air
Here’s where it gets interesting! The perfect ice cream is a delicate balance of fat, sugar, and air:
- Fat: Gives ice cream its creamy texture. More fat = creamier ice cream.
- Sugar: Not just for sweetness! It lowers the freezing point, preventing your ice cream from turning into a brick.
- Air: Incorporated during churning, it gives ice cream its light, fluffy texture.
Step-by-Step Guide to Making Custard-Based Ice Cream
Ready to make some magic? Let’s do this!
Step 1: Prepare the Custard Base
- In a saucepan, combine 2 cups heavy cream, 1 cup milk, and 3/4 cup sugar.
- Heat until sugar dissolves, stirring occasionally.
Step 2: Temper the Eggs
- Whisk 4 egg yolks in a separate bowl.
- Slowly pour about 1 cup of the hot cream mixture into the yolks, whisking constantly.
- This step is crucial! It prevents the eggs from scrambling. Nobody wants scrambled egg ice cream!
Step Three: Cook the Custard
- Pour the egg mixture back into the saucepan.
- Cook over medium heat, stirring constantly, until the mixture thickens and coats the back of a spoon (about 170°F on a thermometer).
Step Four: Strain and Cool
- Strain the mixture through a fine-mesh sieve into a bowl.
- Add any flavorings (vanilla extract, anyone?).
- Cover and refrigerate until completely chilled (at least 3 hours or overnight).
Step Five: Churn Baby, Churn
- Pour the chilled base into your ice cream maker.
- Churn according to the manufacturer’s instructions (usually 20-30 minutes).
- In the last few minutes, add any mix-ins you like.
Step Six: Freeze!
- Transfer to an airtight container.
- Freeze for at least 4 hours before serving.
Quick and Easy No-Churn Ice Cream Method
Don’t have an ice cream maker? No worries! Here’s a super easy no-churn method:
- Whip It Good
- In a large bowl, whip 2 cups of heavy cream until stiff peaks form.
- Mix It Up
- In another bowl, mix 1 can (14 oz) of sweetened condensed milk with your desired flavors.
- Fold and Freeze
- Gently fold the whipped cream into the condensed milk mixture.
- Pour into a freezer-safe container.
- Freeze for at least 6 hours or overnight.
Flavor Variations and Mix-Ins
Now for the fun part – flavors! The sky’s the limit here, folks. Some ideas to get you started:
- Classic Vanilla: Add 1 tablespoon vanilla extract to your base.
- Chocolate Chip: Fold in 1 cup mini chocolate chips before freezing.
- Strawberry: Blend 2 cups fresh strawberries and add to the base.
- Mint Chocolate Chip: Add 1 teaspoon of peppermint extract and fold in chocolate chips.
- Cookie Dough: Mix in small chunks of edible cookie dough.
Pro Tip: Add mix-ins in the last few minutes of churning to ensure even distribution.
Troubleshooting Common Homemade Ice Cream Issues

Even the best ice cream makers hit a bump now and then. Here are some common issues and how to fix them:
Icy Texture
Cause: Too much water content or improper storage.
Fix: Use full-fat dairy, and make sure your ice cream is stored in an airtight container.
Too Soft
Cause: Not enough fat or too much sugar.
Fix: Increase the fat content or reduce the sugar slightly.
Grainy Texture
Cause: Ice crystals formed during freezing.
Fix: Churn the ice cream faster, or add a tablespoon of corn syrup to the base.
Health-Conscious Ice Cream Alternatives
Looking for a healthier scoop? Try these alternatives:
- Low-Fat Ice Cream: Use half-and-half instead of heavy cream.
- Vegan Ice Cream: Use coconut milk or almond milk as your base.
- Sugar-Free Ice Cream: Use a sugar substitute like stevia or erythritol.
- Protein-Packed Ice Cream: Add a scoop of your favorite protein powder to the base.
Remember, homemade ice cream is all about experimentation and fun. Don’t be afraid to try new flavors and combinations. Who knows? You might create the next big ice cream trend right in your kitchen!
Storing Your Homemade Ice Cream
To keep your ice cream at its best:
- Store in an airtight container in the back of your freezer.
- Place plastic wrap directly on the surface of the ice cream to prevent freezer burn.
- For optimal texture, let it sit at room temperature for 5-10 minutes before serving.
Conclusion: Your Ice Cream Adventure Awaits!
There you have it, folks – your comprehensive guide to making homemade ice cream! From custard-based delights to quick no-churn recipes, you’re now equipped to create your own frozen masterpieces.
Remember, making ice cream is as much an art as it is a science. Don’t be discouraged if your first batch isn’t perfect – practice makes perfect (and gives you an excuse to eat more ice cream!).
So, what are you waiting for? Grab those ingredients, fire up that ice cream maker (or whip out that mixing bowl), and let’s get freezing! Your taste buds are in for a treat. Happy churning!
As an Amazon Associate Icecreambusinessboss.com earns from qualifying purchases. Icecreambusinessboss.com also participates in affiliate programs with ShareASale and other sites. Icecreambusinessboss.com is compensated for referring traffic and business to these companies.
Learn more about the ice cream business, tips, and inspirations on our social media accounts. Follow us here:
Disclaimer: The information provided by IceCreamBusinessBoss.com (“The Site”) is for general informational purposes only. All information on the Site is provided in good faith, however, we make no representation or warranty of any kind, express or implied, regarding the accuracy, adequacy, validity, reliability, availability, or completeness of any information on the Site. Under no circumstance shall we have any liability to you for any loss or damage of any kind incurred as a result of the use of the Site or Reliance on any information provided on the Site. Your use of the Site and your reliance on any information on the Site is solely at your own risk. This blog post is for educational purposes only and does not constitute legal advice. Please consult a legal expert to address your specific needs. Terms and Conditions.

Hi! I am Shawn and I am a happy individual who happens to be an entrepreneur. I have owned several types of businesses in my life from a coffee shop to an import and export business to an online review business plus a few more and now I create online ice cream/gelato business resources for those interested in starting new ventures. It’s demanding work but I love it. I do it for those passionate about their business and their goals. That’s why when I meet a ice cream/gelato business owner, I see myself. I know how hard the struggle is to retain clients, find good employees and keep the business growing all while trying to stay competitive.
That’s why I created Ice Cream Business Boss: I want to help ice cream and gelato business owners like you build a thriving business that brings you endless joy and supports your ideal lifestyle.

